Monday, March 31, 2025

Hoppy Art Journal Page

Hello friends! It is Monday again and it is the last day of March. The sun is shining. 

Please note: this post has affiliate links, for which I receive a small percentage of sales generated by the link, at no extra cost to you.


This week we have a Hip Hop (Rabbits/Music) theme at the Simon Says Stamp Monday Challenge Blog. I hope you will join us! Don't miss the last project by our March guest designer Rox aka Red Dirt Crafter.

Layers of ink - Hoppy Art Journal Page Tutorial by Anna-Karin Evaldsson.

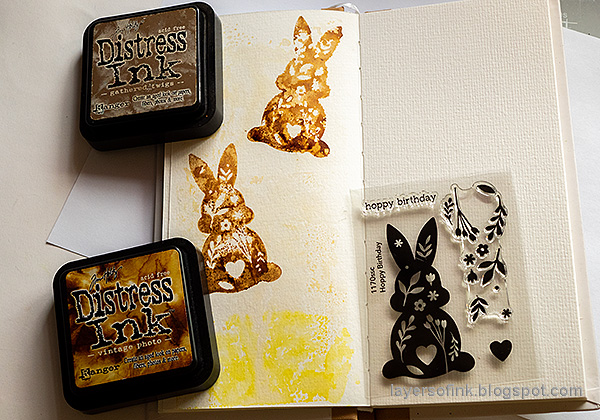
Easter project are often so joyful and I wanted one of them in my art journal. You can of course turn this into a card or a tag instead if you want to. The bunny from Simon Says Stamp new Hoppy Birthday set was perfect for my page. It was watercolor stamped, which is one of my favorite techniques since you can't control the result completely. You can easily see that here, since the two bunnies are different from each other.

Watercolor with Distress Ink.

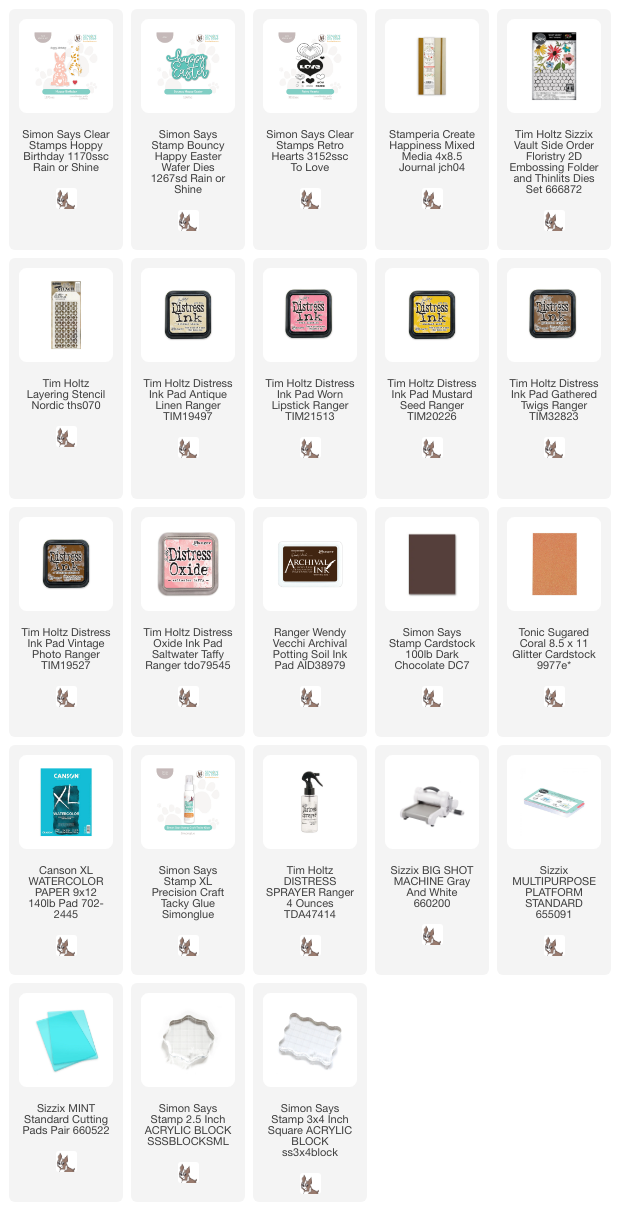
I worked in my Stamperia Happiness Mixed Media Journal 4x8.5 in. Smear Distress Ink on an acrylic block and mist with water. Stamp on the page. 

Stamp with Simon Says Stamp Hoppy Birthday.

Ink the bunny from Simon Says Stamp Hoppy Birthday with Gathered Twigs at the top two-thirds and Vintage Photo at the bottom one-third. Mist with water and stamp on the page. Repeat. 

Ink through Tim Holtz Nordic Flowers.

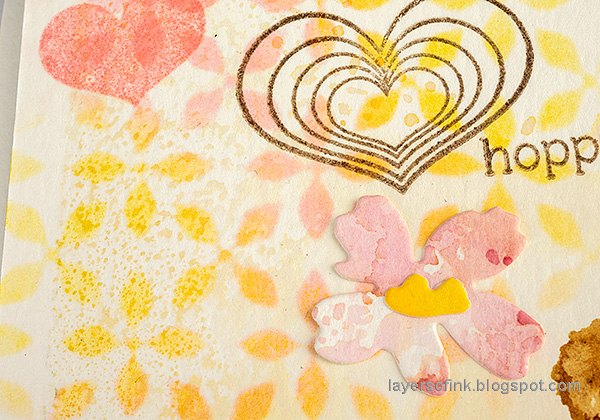
Ink through Tim Holtz Nordic Flowers with Worn Lipstick and Mustard Seed. 

Die cut with Simon Says Stamp Bouncy Happy Easter.

Die cut Simon Says Stamp Bouncy Happy Easter from glitter cardstock and brown cardstock.

Die cut with Tim Holtz Vault Floristry.

Die cut two of the flowers from Tim Holtz Vault Floristry from left-over watercolored or inky paper. 

Stamp with Simon Says Stamp Retro Hearts.

Stamp hearts from Simon Says Stamp Retro Hearts with brown ink and Saltwater Taffy Distress Oxide Ink. Stamp only the word 'hoppy' with brown ink repeatedly on the page. The stamp originally says 'hoppy birthday'. Avoid inking 'birthday'. 


Glue the flowers here and there. If you are making a card instead, you can make the flowers dimensional. I prefer to keep my art journal pages pretty flat, so I didn't do that.


Glue the title to the bottom of the page, offsetting it slightly. This die set and the Hoppy Birthday stamp set both come from the new Simon Says Stamp Rain or Shine release.


The Simon Says Stamp Hoppy Birthday set also comes with a coordinating floral stamp, with which you will be able to stamp the flowers and leaves inside the bunny. I didn't use it here.

Join us this week in our Hip Hop (Rabbits/Music) challenge! You have a chance to win a $25 gift voucher to do some fun shopping at Simon Says Stamp. You have until Monday 8am Ohio time. 1pm UK time, 2 pm CET to join in.


Do you use Instagram? If so please add #sssmchallenge so we can see your entries there too.


Thank you so much for visiting today! 

Happy crafting!

Anna-Karin

Supplies:

* Please note: the links are affiliate links, for which I receive a small percentage of sales generated by the link, at no extra cost to you.


Sunday, March 30, 2025

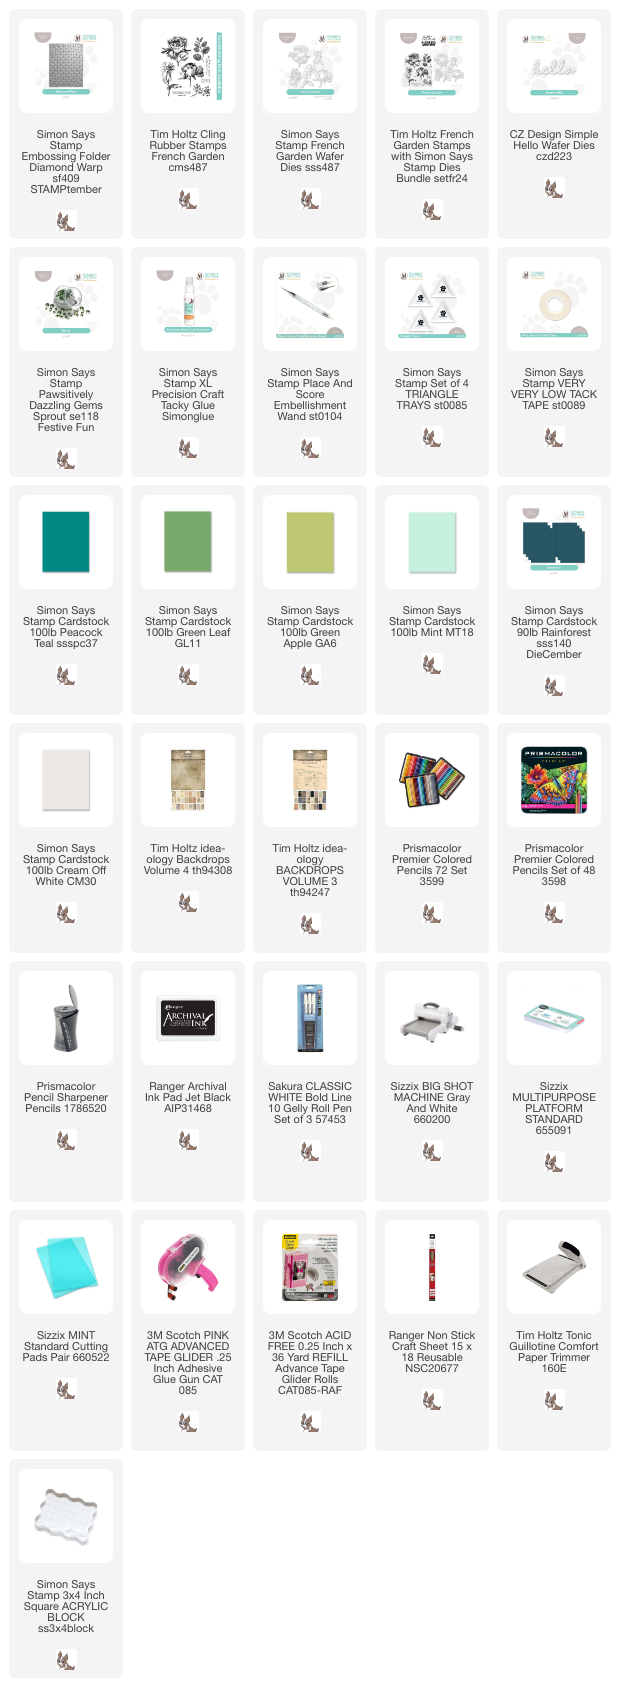
Green Color Block Card

Hello crafters! Today, I have a card with a color blocked and dry embossed background to share, which is a quick and easy background technique.

Please note: this post has affiliate links, for which I receive a small percentage of sales generated by the link, at no extra cost to you.
Layers of ink - Green Color Black Card Tutorial by Anna-Karin Evaldsson.

This background is a great way to use up scraps and to try out different color combos. The dry embossing unifies the different colors of cardstock. The Simon Says Stamp Diamond Warp embossing folder that I used has a cool 3-D effect. 

The flower was stamped with a stamp by Tim Holtz and die cut with the coordinating Simon Says Stamp French Garden dies.

Arrange cardstock on the cardbase.

Start by picking out a bunch of colors of cardstock and decide which ones to use. Move them around on the background until you are happy with the look. Adhere them to background cardstock and trim the edges.

Dry emboss the background.

Emboss in Simon Says Stamp Diamond Warp folder.

Stamp with Tim Holtz French Garden.

Stamp one of the flowers from Tim Holtz French Garden on idea-ology Backdrops paper. 

Die cut with Simon Says Stamp French Garden.

Die cut with the coordinating Simon Says Stamp French Garden dies. I use Simon Says Stamp Very Very Low Tack tape to hold the die in place.

Color with pencils.

Color with colored pencils. I used Prismacolors. Use the white pencil to blend the colors.


I added just a few scribbles with a white gel pen. 

Dry embossed color block background.

I enjoy coloring on patterned paper, since you can see the pattern through the color, such as the script here.

Simon Says Stamp Simple Hello.

The title is die cut with Simon Says Stamp Simple Hello, from some of the papers used in the background, as well as a glossy paper that had been colored with alcohol ink. 


Thank you for visiting!

Happy crafting!

Anna-Karin

Supplies:

* Please note: the links are affiliate links, for which I receive a small percentage of sales generated by the link, at no extra cost to you.


Friday, March 28, 2025

Teal Flower Art Journal Page

Hi friends! Today I have a tall art journal page to share using shades of teal and a hint of purple.

Please note: this post has affiliate links, for which I receive a small percentage of sales generated by the link, at no extra cost to you.


Layers of ink - Teal art journal page with watercolor flower, tutorial by Anna-Karin Evaldsson.

I used a combination of watercolor and acrylic paint here. The flowers and leaves were stamped, die cut and watercolored. I really like these tall pages in Stamperia's Happiness Mixed Media journal and the paper is watercolor paper, which is one of my favorite surfaces.

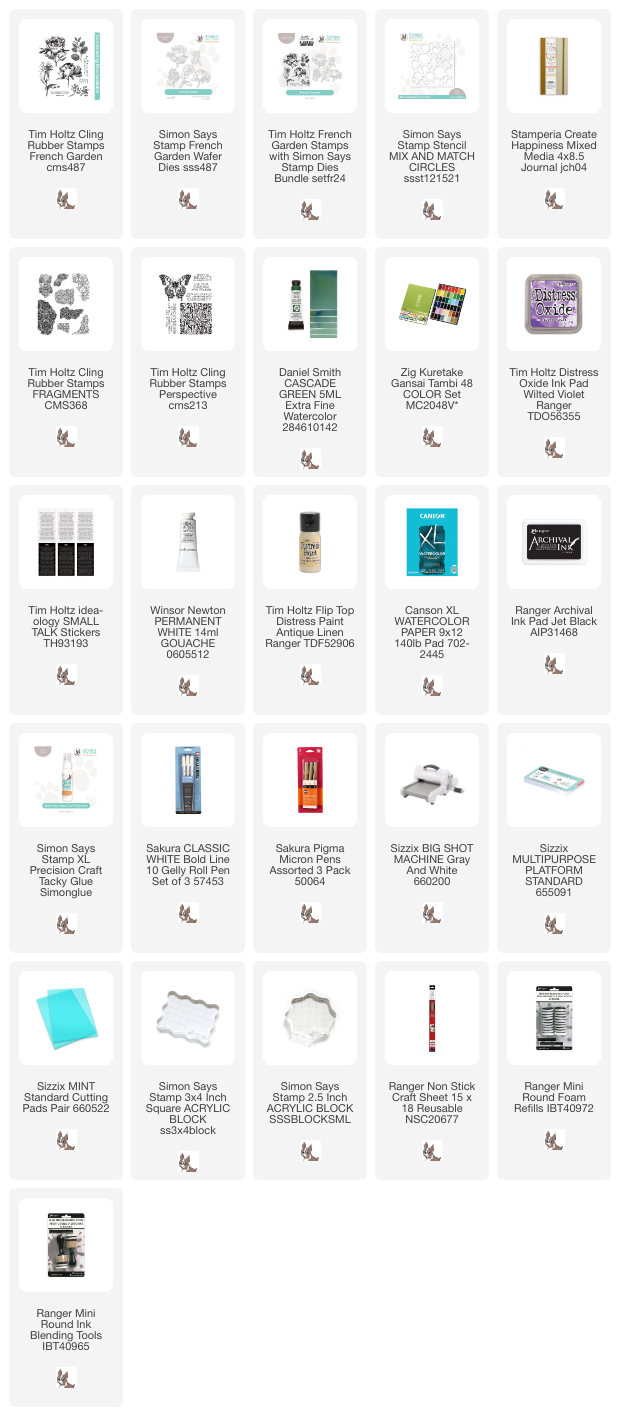
Paint the background with Daniel Smith Cascade Green.

Start by paint the background with Daniel Smith Cascade Green watercolor paint. Such a cool granulating paint. 

Add Antique Linen through Simon Says Stamp Mix and Match Circles.

Sponge Antique Linen Distress Paint through the Simon Says Stamp Mix and Match Circles stencil.

Stamp with texture stamps.

Stamp with the text stamps from Tim Holtz French Garden and the texture stamp from Tim's Fragments. The latter was stamped with Wilted Violet Distress Oxide Ink.

Stamp Tim Holtz French Garden.

Stamp the flower from French Garden on watercolor paper.

Die cut with Simon Says Stamp French Garden.

Die cut with the coordinating Simon Says Stamp French Garden dies. Let the cutting pad stop just before the stem end of the die, to avoid cutting through.

Extend the stem with a pen.

I did that last step since I wanted a taller stem. Draw it with a black pen.

Paint with watercolors.

Paint with watercolor paint. 

Stamp and die cut leaves.

Repeat with the leaf stamp. Add details with a white gel pen and a black pen. Splatter with Winsor & Newton Permanent White Gouache.


I added Tim Holtz Small Talk stickers.


This flower stamp is so pretty.

Add sentiments.

If you make a card or a tag instead, give some shape to the flower and the leaves. I prefer my art journal pages to be fairly flat and didn't do that.

Add details with a white gel pen.

This sentiment comes from Tim's Perspective stamp set. I like how it fits so well on the page. I used a white gel pen to fill in the letters.


Thank you for visiting!

Happy crafting!

Anna-Karin

Supplies:

* Please note: the links are affiliate links, for which I receive a small percentage of sales generated by the link, at no extra cost to you.


Tuesday, March 25, 2025

Happy Easter Bunny Circle Card

Hi crafters! Today I have a sweet Easter card to share with a circle design. 

Please note: this post has affiliate links, for which I receive a small percentage of sales generated by the link, at no extra cost to you.
Layers of ink - Happy Easter Bunny Circle Card tutorial by Anna-Karin Evaldsson.

The Easter scene was stamped and watercolored and all the papers were die cut into circles and then layered. Circle cards are a fun variation to the normal rectangular or square cards.

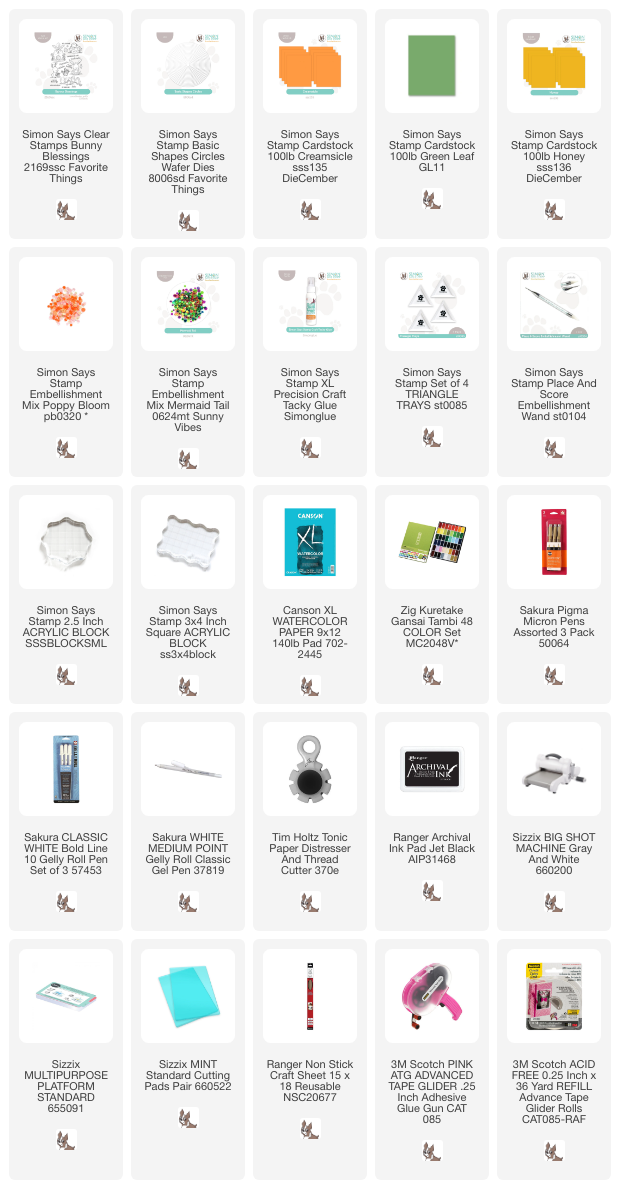
Die cut with Simon Says Stamp Basic Shapes Circles.

I used products from Simon Says Stamp Favorite Things release: the Bunny Blessings stamp set and the Basic Shapes Circles. Die cut the circle from watercolor paper and stamp the bunny and flowers with waterproof ink. I used Archival Ink Jet Black.

Paint with watercolor paint.

Watercolor the images, leaving some of the white paper showing for highlights.

Paint the sky.

Watercolor the sky and add shading.

Add highlights with a white gel pen.

Add details with a black pen and highlights with a white gel pen.


Don't worry about perfection when watercoloring.

Layer the circles to create the card.

Distress the edges of the watercolor panel. The cardstock circles were die cut from Simon Says Stamp cardstock. Fold the green cardstock before die cutting and let the folded edge go slightly outside the cutting plate. The Simon Says Stamp Basic Shapes Circles is a very versatile die set. It consists of 18 circle dies.


I also added some sequins to the card.

Layers of ink - Happy Easter Bunny Circle Card tutorial by Anna-Karin Evaldsson.

I hope you enjoyed this project! Easter crafting is so joyful.


Thank you for visiting!

Happy crafting!

Anna-Karin

Supplies:

* Please note: the links are affiliate links, for which I receive a small percentage of sales generated by the link, at no extra cost to you.